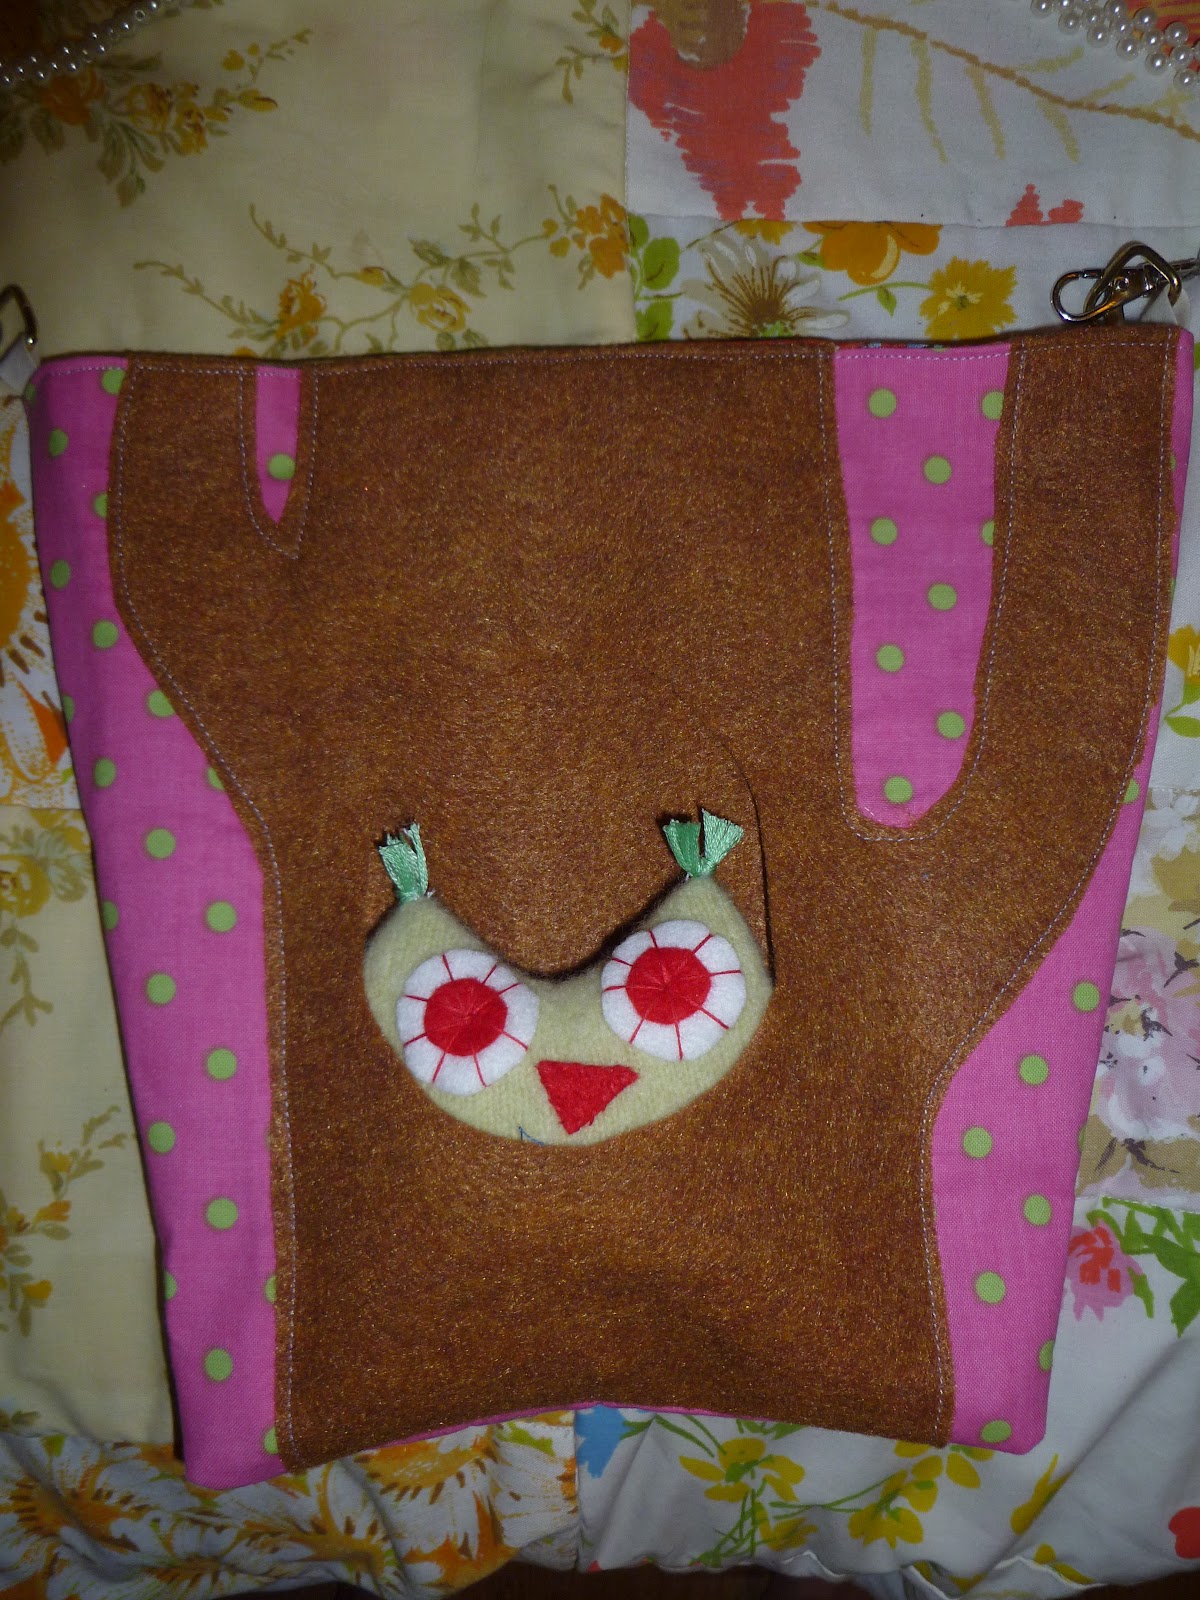
| My granddaughter Layla is in the 3rd grade. Her class is featuring owls in some of their studies. So, she wanted me to make something for the class. I haven't added pins to the back yet. I wish I could say these were totally my ideas, but I happen to see a pin and tried my best. She has them for sale here. I know Layla will love them. |
Blog Archive
Sunday, September 23, 2012
Owls For Layla's Class
Tuesday, September 18, 2012
Owl Brooch
| Lately I have been loving owls. You can see the great ones I've pinned here on pinterest. |
| Found this at Walmart for $3.00. I clipped off the top loop, filed it and added a small amount of black sharpie. |
| Cut out one of the flowers from this thrifted scarf. I glued the charm to the flower, then added some felt on the back to add some stiftness and glued on a pin. |
Sunday, September 16, 2012
Kitty Cat Wall Hangings
| I had forgotton I made this one for my sister Vickie. When my niece Ashley was going through some of her things she found it and gave it back to me and I put it up. |
| Just found it the other day and showed it to Ruby. I quilted and put new binding and a flannel back and she adores it. |
Wednesday, August 29, 2012
Owl Bags
| I made these cute little owl bags for my girls. The pattern is from The Perfect Handmade Bag book. Really like this book. I've made several bags from it. Of course they have their own design ideas. I really like the fabrics they picked out. |
| Owl a little crooked. |
| Ruby wanted the pearl handle on her bag. |
| Layla wanted buttons on her bag and snaps on the inside. |
| At first she wouldn't smile so I had to make her laugh. She can't wait to show it off tomorrow. |
Thursday, August 9, 2012
Ruby's dress
| Instead she picked this fabric that was originally a ladies dress. So I cut it up and here it is. Didn't have enough for the collar or the border, but this really adds to the beauty. |
| Can you tell she really loves sit. |
Wednesday, August 8, 2012
Layla's new frog dress
It's been a while I know. Over the past two months I've had 2 root canals, 4 crowns, a bad sinus infection caused from one of the crowns. In a few weeks I'll have one of my wisdom teeth extracted or I can have another root canal and crown. Decisions, Decisions. Today I had the last root canal and I'm feeling pretty good right now. It's time to do some sewing.
Yesterday I made this dress for Layla. Don't know if you can see the frogs, but they are cute. I used an old Butterick pattern 3118 from the 70's. The pattern is a size 10 and I took about 2 inches from each side. I got it from my Mom and I'm pretty sure she made it for my daughter at one time.
The fabric is Prince Charming-Frog Prince by Trula Pink for Free Spirit.
| My little beauty. Hard to believe she will soon be 9 years old. |
Thursday, July 12, 2012
My Thrifting Adventures
This thrifting adventure is for 2 weeks worth of 4 different Goodwill stores, 4 other thrift stores.
| I plan on putting this in my shop. The original cost was .25. It doesn't have a year on it. I'm guessing '50's. |
| I love the cheese tray. Just found it yesterday searching the thrift stores of Charlotte Ave. in Nashville. I guess the side tray is for crackers. |
| I also found this tablecloth on Charlotte. Fits my table perfect. |
| I had this for a few weeks. Perfect for my dining table. My brother always needs a toothpick. |
Sunday, July 8, 2012
Vintage Embroidery Idea
Made this necklace from a piece of embroidery scarf. I added a small ribbon just because I thought it needed something else.
| These frames came from Joann's. Pretty cheap. It has 2 pieces of glass and the little frame. |
| Just lay the frame on of embroidery. Draw around the piece and cut it out. Put between the 2 pieces of glass and add the frame. There you have it. |
Saturday, July 7, 2012
Tutorial for Sewing Machine Cover from Pillowcase
Heather from The Vintage Sheet Blog ask that I do a tutorial for a pillowcase sewing machine cover. It should be similar to the one I made here. Here is my finished product.
| Start by picking a pillowcase you like. I like the ones that have borders. |
| The finished size should be 24.5" long and 18.5" wide. On this pillowcase I trimmed 5.5" inches from the top. (This will depend on the size of your pillowcase. |
| Then trimmed 3" off the side. |
| Turn inside out and sew .5" seam across the top and down the side. Then trim the corner. Turn inside out and press. |
| I found some embroidery pieces from an old dresser scarf and cut out each individual one. Position and zig zag stitch around all the edges. |
| Here's a close up. |
| Cut 4 pieces of ribbon 9.5" long. Measure down from the top 6" and measure bottom up 6". Then sew the ribbon on the back side of the pillowcase. (Two on each side of the pillowcase. |
| It should look something like this when you finish. |
| Tie ribbons in a bow and you have a sewing machine cover. Hope you like. |
Thursday, June 28, 2012
My new ironing board cover from a sheet
| I found this amazing Rowenta ironing board at Goodwill for $4.99. The cover was a very stained white. |
Saturday, June 23, 2012
More refinishing of chairs
Once I got started I had to put a soft bottom on everything.
| This chair was a cheap glider I had in my sewing room for years. It was an awful gray that was peeling. |
| I moved in to my living room and made slip cover for the back and seat of the chair. Took the arms and the stool top off and tacked them in place. |
| I had two stools in my dining room with straw bottoms. Just took the seat off like the dining chairs added batting and the bottom back on. |
| I had these two ikea chairs in my kitchen. Refinished them with some thrifted fabric. |
| Had 2 stools in my husbands room. I used some fabric that was left over from a bag project. On these two stools I used one of the old cushions from the kitchen and tacked it down. |
Subscribe to:
Posts (Atom)